Category: Techniques & Skills

Learn the essentials of dirt bike riding with our beginner enduro skills guide. We’ll be covering everything from balance and body position to cornering technique and hill climbs.

Save Yourself & The Bike: The Smart Rider’s Guide to Emergency Dismounts
Save Yourself & The Bike: The Smart Rider’s Guide to Emergency Dismounts

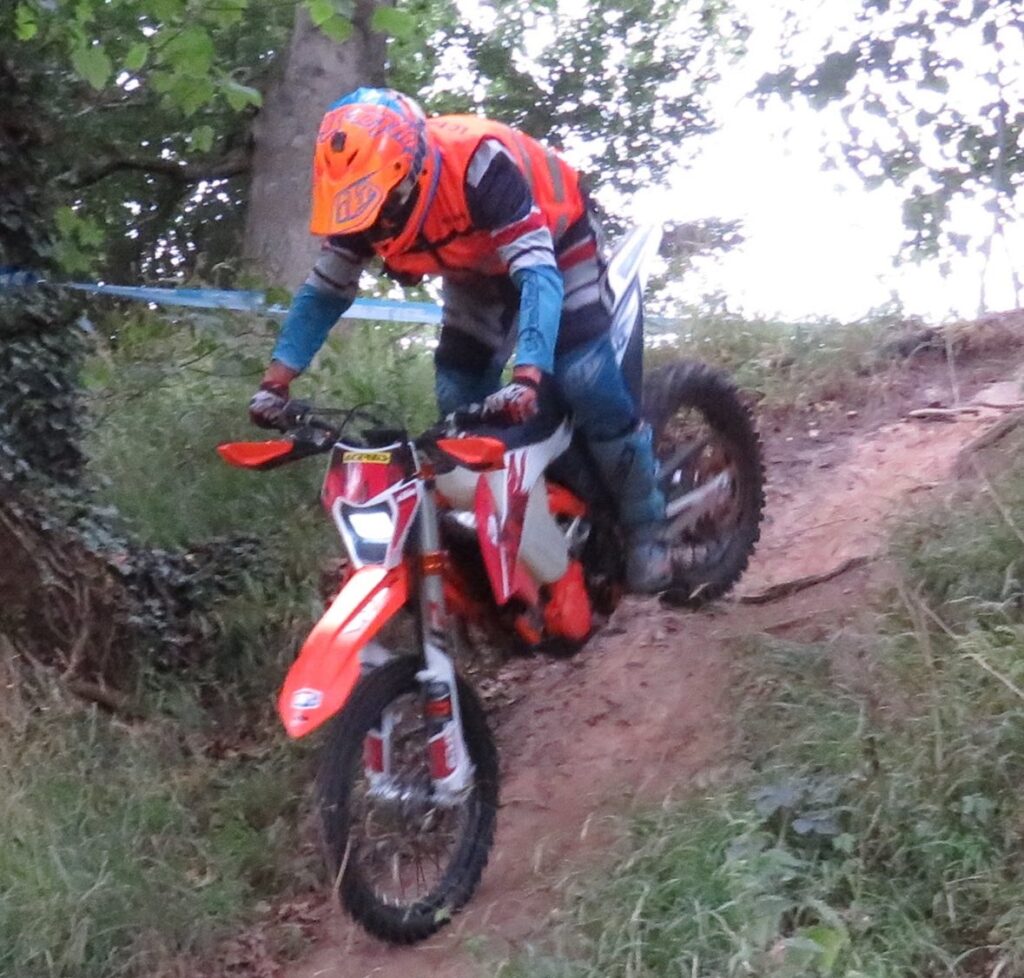
If you’ve ever watched experienced enduro riders who come from a trials background, you’ve probably noticed something strange — their low-speed crashes don’t even look like crashes.
They’ll just step off the bike as if that was the plan all along. Or they’ll gently lay it down like it’s time for the bike’s afternoon nap.

There’s a saying in motocross: “If in doubt, throttle out!” But in hard or extreme enduro, it often feels like the opposite applies:

“Give up early and work out how to get off the bike.”

Instead of that last-ditch handful of throttle that makes for great crash videos (and expensive repairs), these riders calmly step off and avoid the bruises, bent levers, and cracked plastics that most of us know too well.
Trials Techniques for Enduro Riders

Trials riders have it easy — those bikes are so light that even us gumbies can usually keep them under control when things go wrong.
But swap that for a full-sized enduro bike, and it’s a different story… especially for shorter riders.

Instead of relying on throttle to save the day, it’s often smarter to back off and plan your exit. Sometimes, the best move is to drop the bike intentionally rather than try to save it with more throttle and send it into orbit. Nobody likes dropping their bike, but it’s often the best outcome.

Learn from the ladies

Here’s something interesting: women riders tend to be way better at this.
Without the testosterone-driven urge to “rev it till it saves me,” they’re calm, controlled, and graceful when things go wrong.

Not always the case but often they have an awesome approach to technical riding — just throttle off, step or jump off the bike, and keep your cool.

The Casual Dismount

As you get more experience, you can start to dismount in control rather than crash. The key is avoiding last-second heroics.
Accept that you’re not going to make it, then plan how to get off the bike safely.

Can You Practice This? Definitely.

Practice jumping off the bike in a controlled way.
Over time, dismounting becomes a natural reaction — not a panicked throttle grab that sends your bike flying at nearby spectators.

Most riders find it easier to jump off to the left, so make sure you practice both sides.
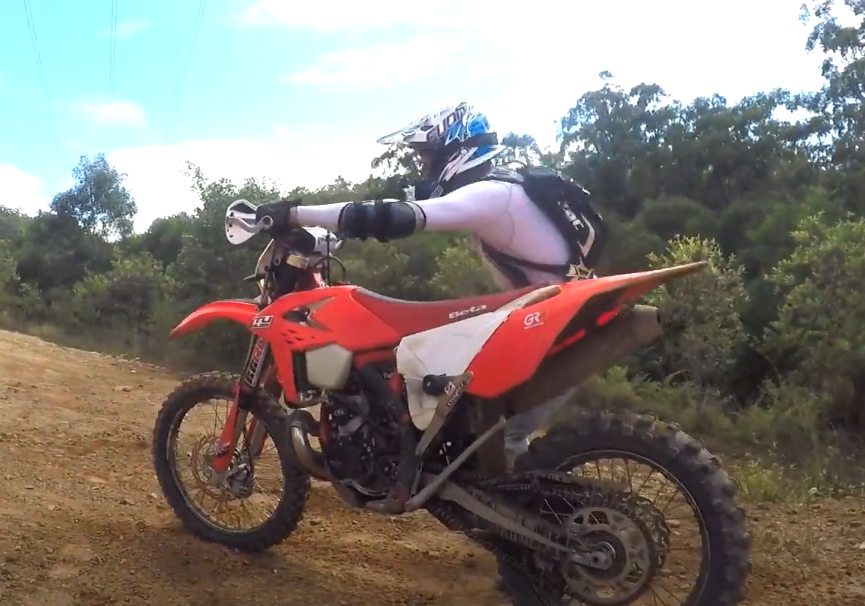
Practice jumping off on the right too. Credit: Cross Training Enduro YouTube


It can be hard to unlearn that instinct to twist the throttle while bailing — that’s how you end up “ghosting” the bike.

Ghosting the Bike

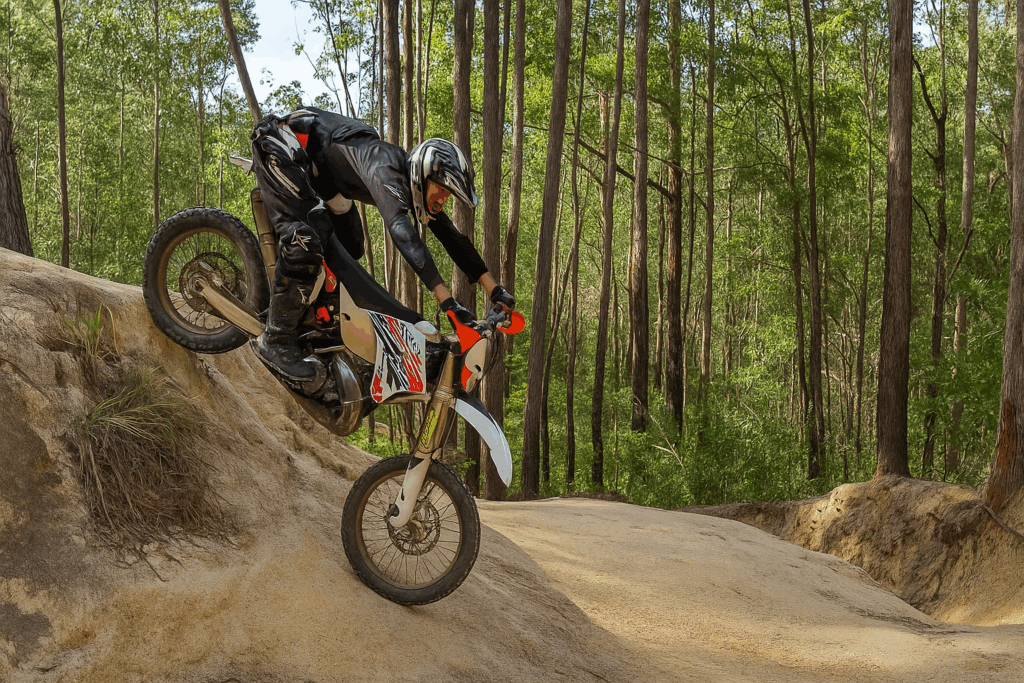
Sometimes, jumping off the back is your only option.


In some cases, you can even give a bit of throttle as you push off to help the bike clear the last bit of a hill or obstacle.

That’s where the term “ghosting” comes from — if it’s not you riding that bike, it must be a ghost! 👻
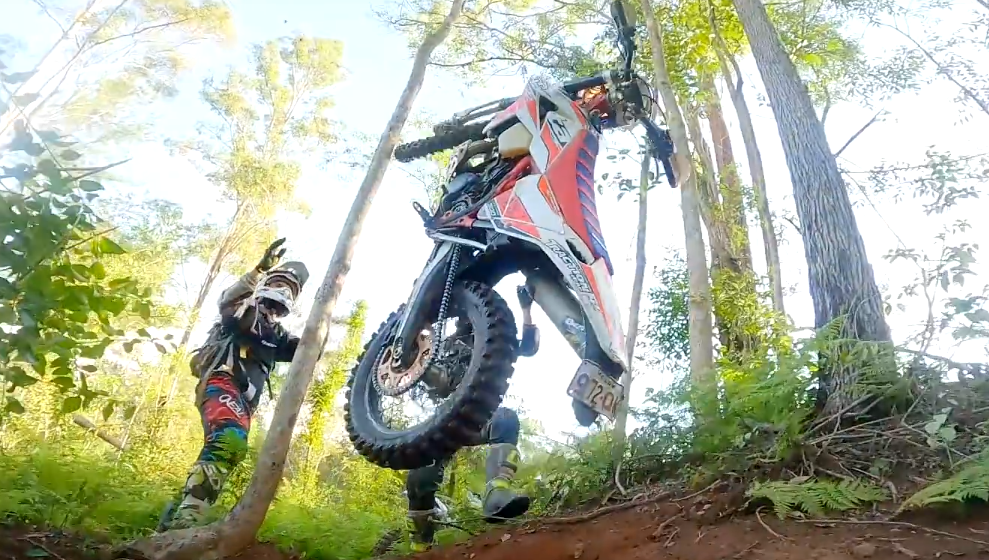
Ghosting the bike. Credit: Cross Training Enduro YouTube


Tying It All Together

This skill ties in closely with hill climb recovery training. By turning before you come to a stop, you can often avoid that nasty backwards roll or slide down the hill.

Key Takeaways

  • Back off early — don’t fight it with more throttle.
  • Plan your dismount rather than panic.
  • Practice both left and right side step-offs.
  • Learn to ghost safely when needed.
  • The goal: fewer falls, fewer bruises, and a happier bike.

With a bit of practice, you’ll find yourself crashing less, hurting less, and maybe even looking cool when things go wrong.

Good luck out there — and remember, sometimes the smartest move is just to get off the bike.
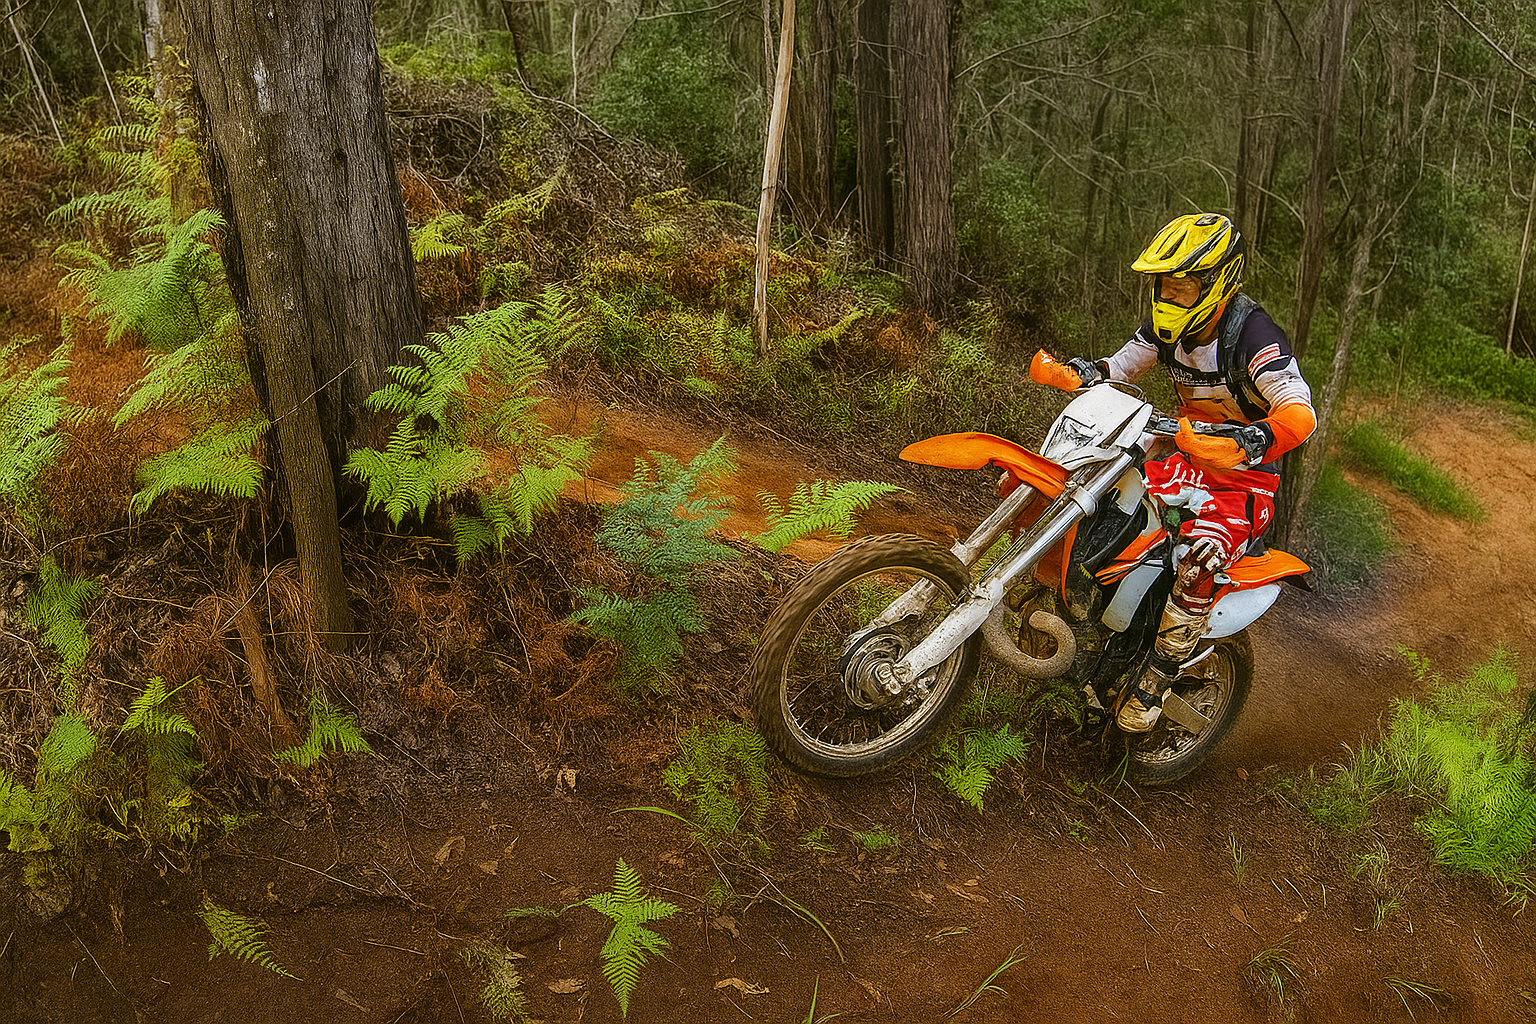
How to Ride Hill Climbs on a Dirt Bike

How to climb hills on enduro bike. Credit: Enduro Cross Training

As with many aspects of dirt riding, hill climbs can be very intimidating at first. But a few basic techniques will have you flying up them in no time. The key points to remember and practice are:

  • Body positioning and balance
  • Traction
  • Momentum
  • Looking ahead
  • Bike setup

1. Body Positioning and Balance

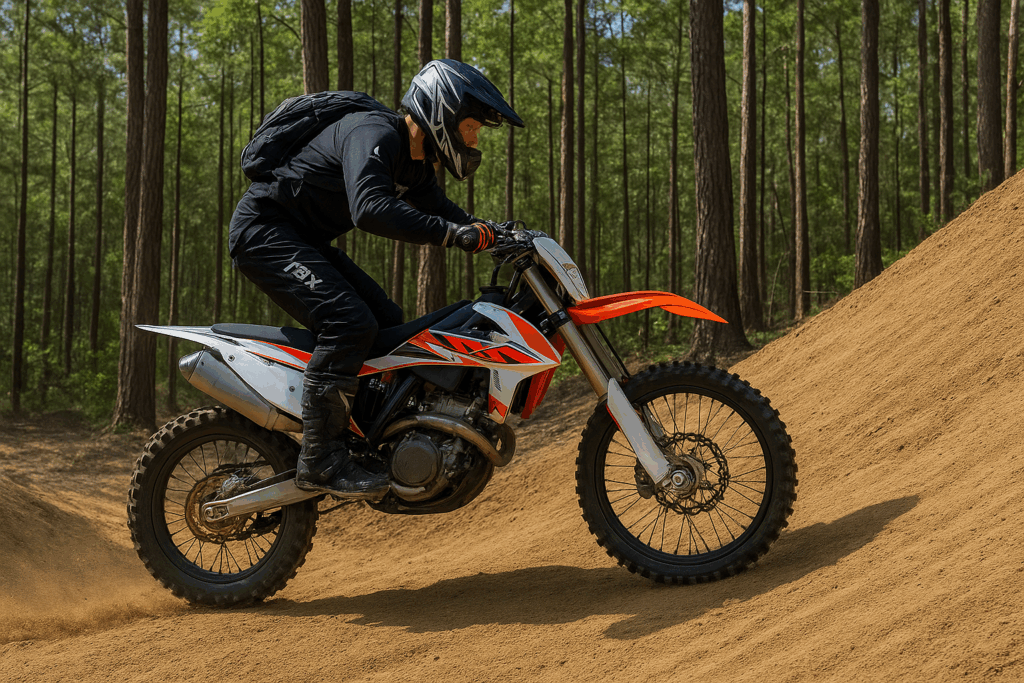
Stand on the footpegs as much as possible — you have far more control this way. If there is good traction, you can simply lean your body forward to ease the strain on your arms.


But as traction becomes an issue, you can actually use a trials technique:

  • Lean your body back to get weight over the rear wheel.
  • Squat down on the footpegs to keep your center of gravity low and prevent wheelies.
  • Bent legs also act as shock absorbers, providing extra suspension to cope with bumps and ruts.

On steep climbs, it’s a careful balancing act between traction of the rear and preventing wheelies.
Ideally you’ll get comfortable with the front wheel skipping along just enough to allow some steering.
You can still use your legs to keep balance while standing — just ensure that you keep the rear wheel weighted for the best traction possible.

2. Throttle and Clutch Control

One of the most common mistakes on hills is too much throttle, high revs, and lots of wheel spin.

Watch top extreme enduro riders climbing technical hills – they rarely break traction, except in loose terrain such as gravel, where wheelspin can’t be avoided.

Always have one finger on the clutch and try to ride in a higher gear, slipping the clutch as needed.
If you need to change down a gear despite clutch slipping, do the change as quickly as possible and resist the urge to apply heaps of throttle in the lower gear – it will just break traction.

Also, get to know your bike’s stall threshold. It’s surprising how low a two-stroke will go before it gives up.

3. Momentum

Momentum is your best friend on hill climbs. Try to get a good run-up and maintain a steady pace until loss of traction means you’ll need to apply less throttle. Whenever there’s a section of good traction or a flat bit of terrain, use this to build your speed again for those tough sections where you’ll need to back off.

4. Look Ahead and Pick Good Lines

Don’t fall into the trap of looking at the terrain right in front of your front wheel.
Look ahead and pick the best line for climbing. If you’re practicing on a particular hill, try walking it first — just like trials riders do — to look for the best line and areas of traction.

5. Bike Setup

A few setup changes can make hill climbs much easier:

  • Lower tire pressures will give you a bigger footprint — 10 psi is a good figure to start with if you’re not hitting hard edges at speed.
  • If you do a lot of cross-training, lower gearing gives you more choice of gears for climbing.
  • You can also tune your bike for extra grunt and a flatter power curve, which makes traction easier.

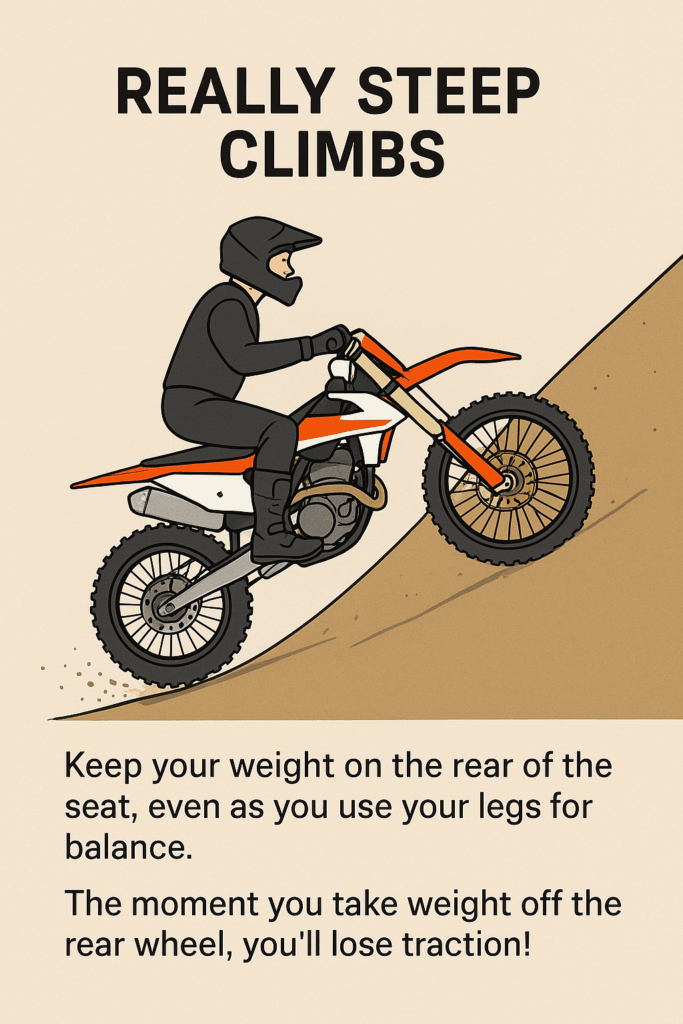
6. Really Steep Climbs

In extreme enduros, even top riders eventually sit down well to the rear of the bike to weight the rear wheel for traction, and then paddle with their legs as needed.

If you find yourself in this situation:

  • Keep your weight on the rear of the seat, even as you use your legs for balance.
  • The moment you take weight off the rear wheel, you’ll lose traction!
  • Stand on the pegs again as soon as you have enough speed.
Steep Climbs

7. Stuck on a Hill

If you’ve stopped and the rear wheel is just spinning against a ledge, rock, or tree root:

  • Use small blips of throttle and clutch, plus body movement, to get a rocking motion going.
  • Usually by the third rocking motion, you’ll have enough momentum to ease past the obstacle.

This conserves your energy for the rest of the climb.

8. Turning Around on Hills

If you know you’re not going to make it — don’t try to ride back down!

  • Turn to the right as you come to a stop.
  • If it’s very steep, dig the handlebars into the ground to stop sliding.
  • Apply the rear brake, then hop the front end around.
  • Alternatively, wiggle your front wheel until you’re facing downhill enough to ride off.

This is the safest way to turn around and saves a ton of energy. You can still use this technique even if the bike has turned left — you just won’t be able to use the rear brake.

9. Challenge Yourself

As you gain confidence with hill climbs, try steeper terrain and less grippy surfaces to test your skills.

  • Deliberately do a hill climb slowly so you can’t rely on momentum.
  • Stop halfway and see if you can get going again without digging a trench. This will really test your throttle and clutch control.

10. Keep Practicing

Hill climbs are one of the best ways to develop full control of throttle, clutch, and body position. Watch this video which gives a good demonstration of each aspect.

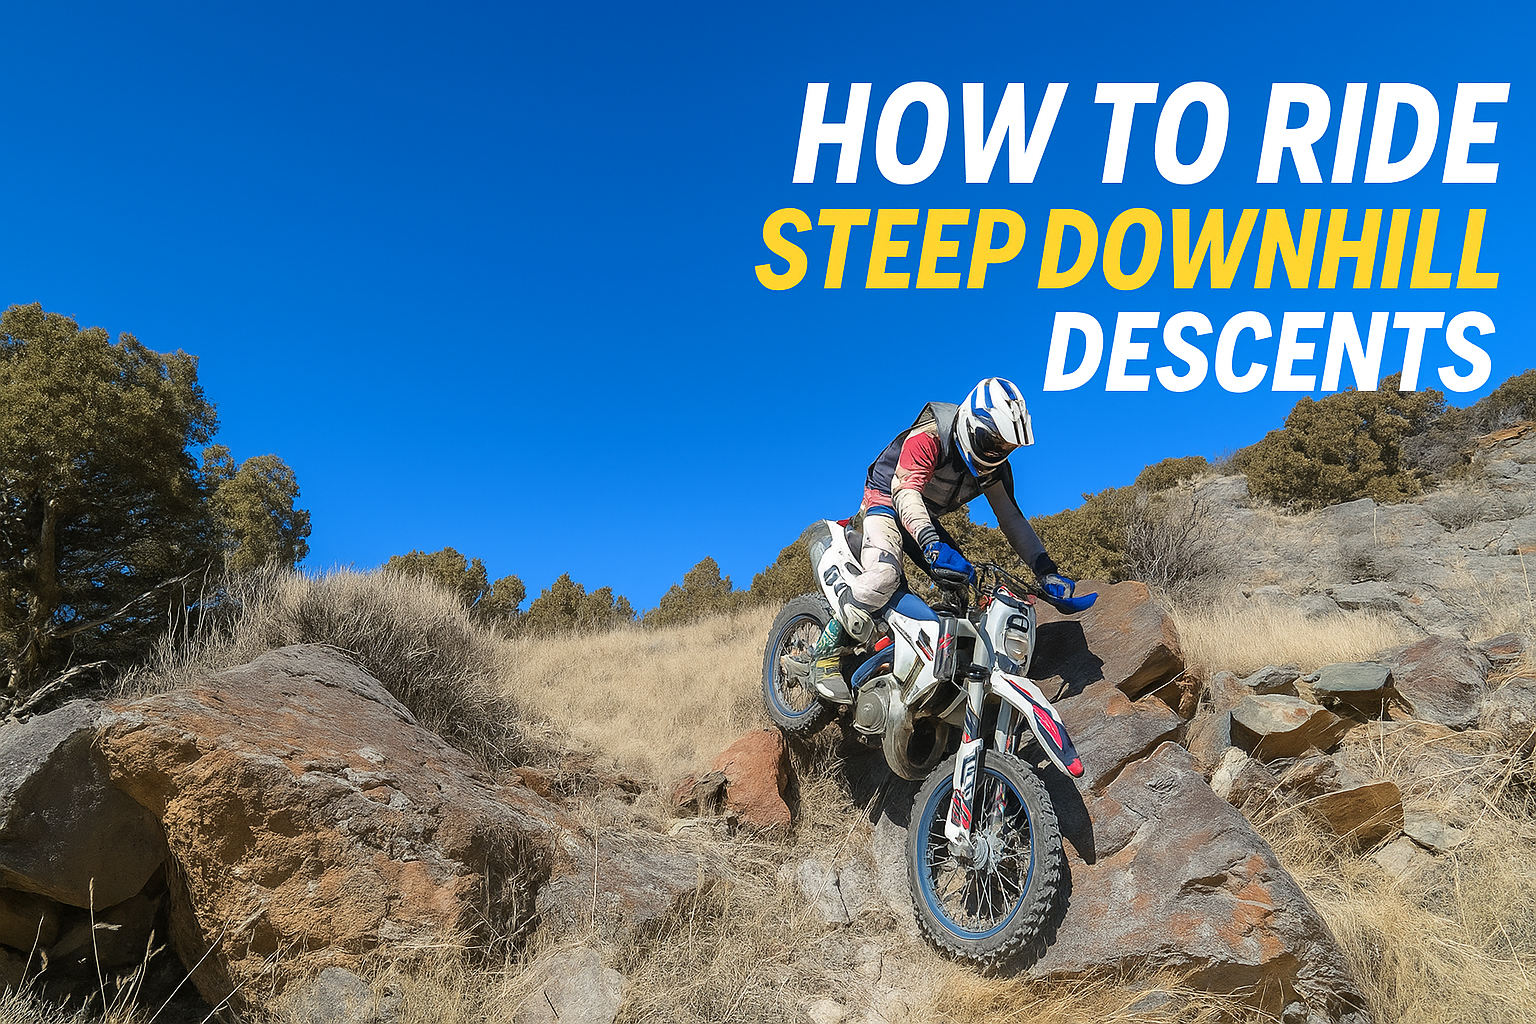
How to Ride Steep Downhill Descents on a Enduro Bike

How to Ride Steep Downhill Descents on a Enduro Bike. Credit: IRC Tire USA Moto

Staring down a steep gnarly slope can really get the adrenalin pumping? Here are some tips for staying cool and in control.

The main things to keep in mind are:

  • Body positioning
  • Braking
  • Look ahead

1. Body Positioning

As mentioned in our body position video, on steep descents you will:

  • Be standing on the footpegs with your body to the rear of the bike.
  • You will often have your bum on the rear fender when it gets very steep!

This not only prevents you going over the handlebars, but puts extra weight on the rear wheel to get extra braking.

  • Your arms will be almost straight — but don’t lock your elbows as you will still need to steer.
  • As the descents get steeper, put some of your balancing practice into action and go as slow as possible. This will be very handy when it gets very steep!
  • Keep your body loose and let the motorbike move around. Too often we tense up on steep descents.
Credit: Cross Training Enduro

2. Braking

Use both brakes, with most emphasis on the front brake.

  • On loose terrain you should be able to apply enough brake to where the front wheel is just starting to lose grip. That should give you maximum braking power.
  • Apply both front and back brake and avoid locking the wheels up.
    • The back brake stabilizes the motorbike on the way down.
    • The front brake provides most of the braking power.

Having one finger always on the clutch is useful here — you can pull the clutch in if the rear wheel locks up and not stall the motorbike.

If you have enough speed, you can also use engine braking (particularly on a four-stroke) to slow down without a complete wheel lock-up.

3. Controlled Rear Wheel Lock

There are times when locking the rear wheel is handy:

  • On gravel or soft dirt descents this can help build up a bank of dirt in front of the rear tire to slow you down.
  • You can also lock up the rear wheel to slide the rear around if needed on the descent.

4. Look Ahead

Read the terrain ahead and don’t fixate on any nasty bits — or you’ll just ride into them.

Often you can let the motorbike build up speed when it gets very steep, then reapply the brakes if the hill temporarily flattens out before the next steep gnarly bit.

5. When It Gets Too Steep

There does come a point where the descent is so steep you begin thinking of upgrading your life insurance.

When caution is the better part of valor:

  • Sit on the motorbike and just paddle your way down with your legs.
  • If it’s ridiculously steep, turn off your engine, put the motorbike in gear, and walk it down carefully.

If it all goes wrong, just drop the motorbike so that the handlebars will dig in and look after yourself. There is no point cartwheeling down the slope with your motorbike trying to perform surgery on you.

✅ Use these techniques to stay in control, stay safe, and make steep downhill descents more manageable on your dirt bike.

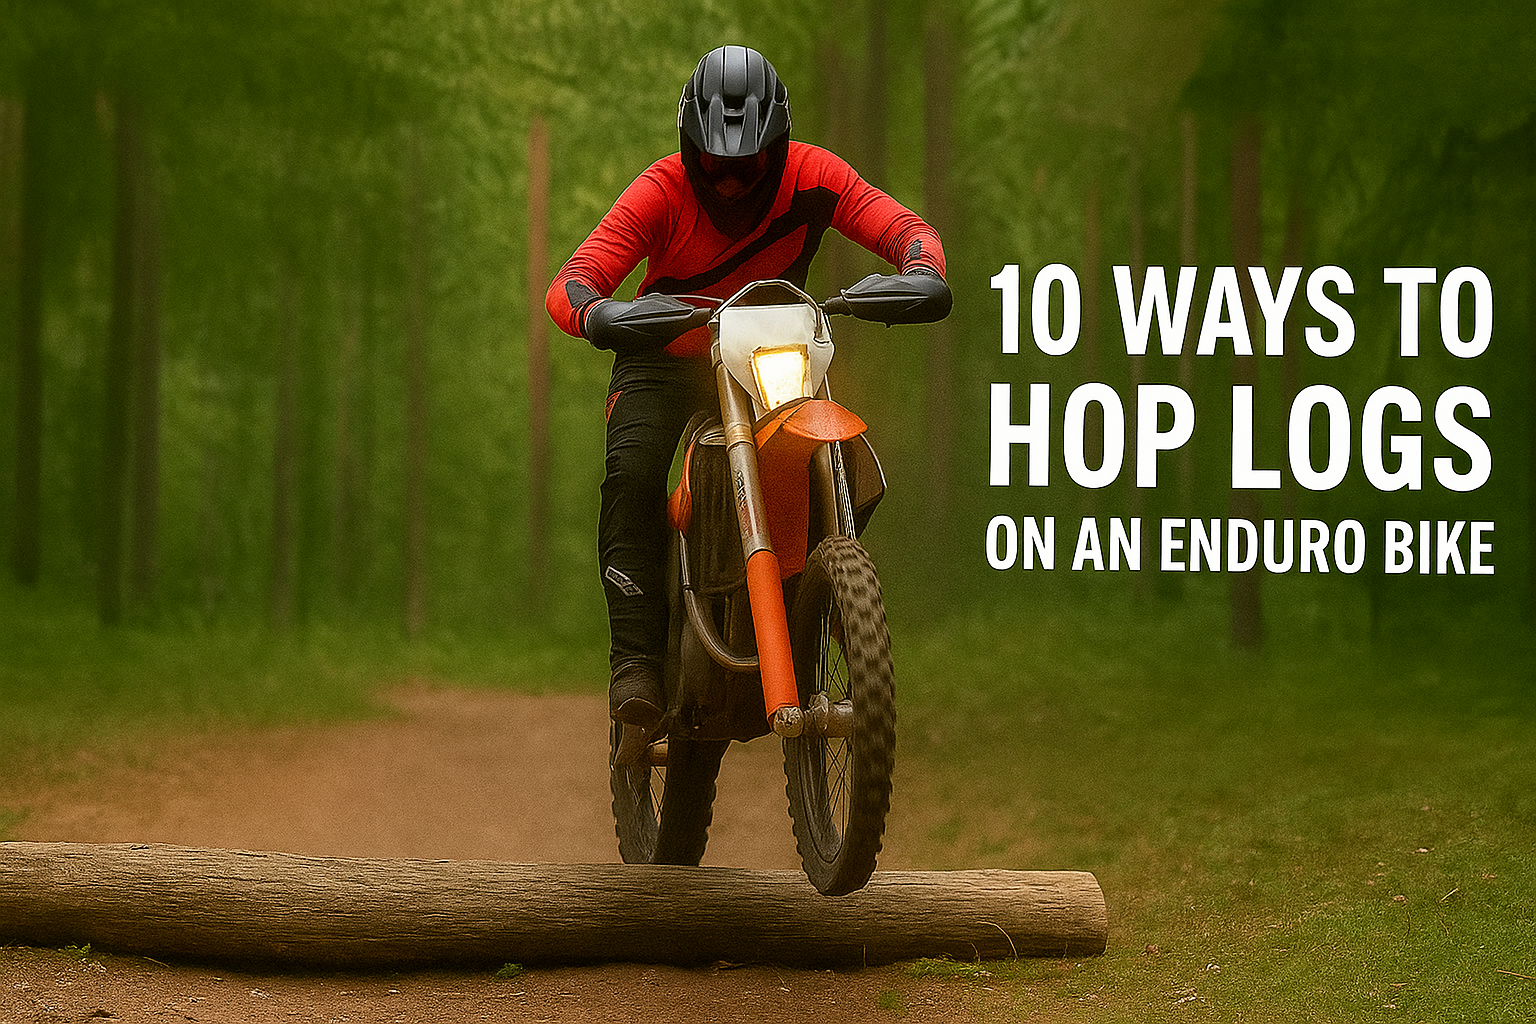
10 Ways to Hop Logs on an Enduro Bike

10 ways to hop logs on a dirt bike

There are more than 20 ways to hop over a log on a dirt bike but have whittled it down to the ten best.

We start with the easiest and most common techniques, working through to the tricky ones that aren’t used that often. Most of these techniques also apply to step-ups, ledges, big rocks, and other obstacles.

1. Just Ride Over It

If a log is small enough, you can just ride over it.
Some basic body positioning makes it even easier and safer:

  • Keep your body position low.
  • This allows your legs and arms to absorb impacts.
  • It keeps your center of gravity low for better balance and control.

2. The Slapper Technique

This is essentially still riding over the log, but using a wheelie.

  • Weight the footpegs, then throttle on, and move your body weight back as the suspension rebounds.
  • The higher the wheelie, the more the rear suspension absorbs the impact.
  • You can hit small logs very fast with this technique, and you’ll see it often in endurocross competition.

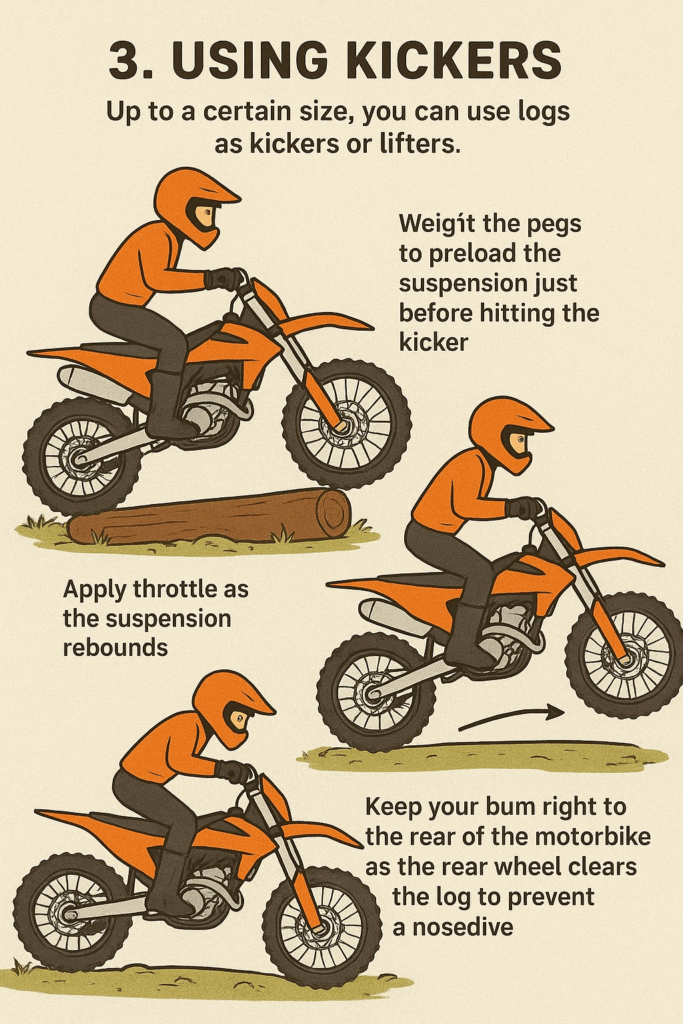
3. Using Kickers

Up to a certain size, you can use logs as kickers or lifters.

  • Weight the pegs to preload the suspension just before hitting the kicker.
  • Apply throttle as the suspension rebounds.
  • You can also use rocks, roots, or rises in the terrain as kickers for larger logs.
  • Keep your bum right to the rear of the motorbike as the rear wheel clears the log to prevent a nosedive.

4. The Punch (Punch Through)

A relatively fast way to get over medium-sized logs.

  • A small wheelie makes your front wheel punch the log at around two-thirds the height.
  • This compresses the suspension and provides extra lift to get the bike up and over smoothly.

5. Using the Skidplate

The easiest way to tackle large logs at speed.

  • If you don’t know what’s on the other side, this also lets you stop on top of the log safely.
  • Weight the footpegs to compress the suspension.
  • Apply throttle and move your body weight back.
  • As the suspension rebounds, aim for the front wheel to barely touch the log (ideally, it should clear).

6. Launching from the Skidplate

If you get stuck on a log or ledge, use body positioning and the clutch to launch.

  • Balance on the skid plate and lean your body back.
  • As the rear suspension compresses, do a controlled clutch drop and throttle to launch up and over.
  • Keep your weight back until the rear wheel hits the log, then throttle off and let momentum ease you over.

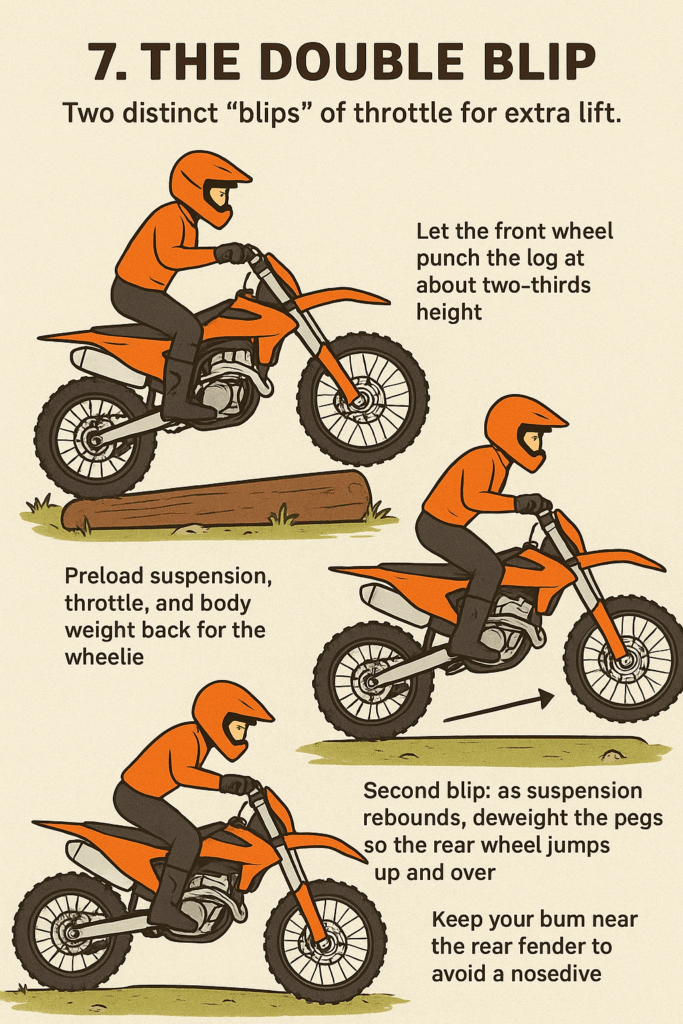
7. The Double Blip

Two distinct “blips” of throttle for extra lift.

  • First blip: preload suspension, throttle, and body weight back for the wheelie.
  • Let the front wheel punch the log at about two-thirds height.
  • Second blip: as suspension rebounds, deweight the pegs so the rear wheel jumps up and over.
  • Keep your bum near the rear fender to avoid a nosedive.

8. The Zap

Dropping the clutch combined with weighting the footpegs.

  • Instead of relying just on throttle, drop the clutch for extra drive.
  • Advanced riders (like Graham Jarvis or Reuben Chadwick) even get the rear wheel airborne, making log hopping easier.
  • Start small and build up—this one requires timing.

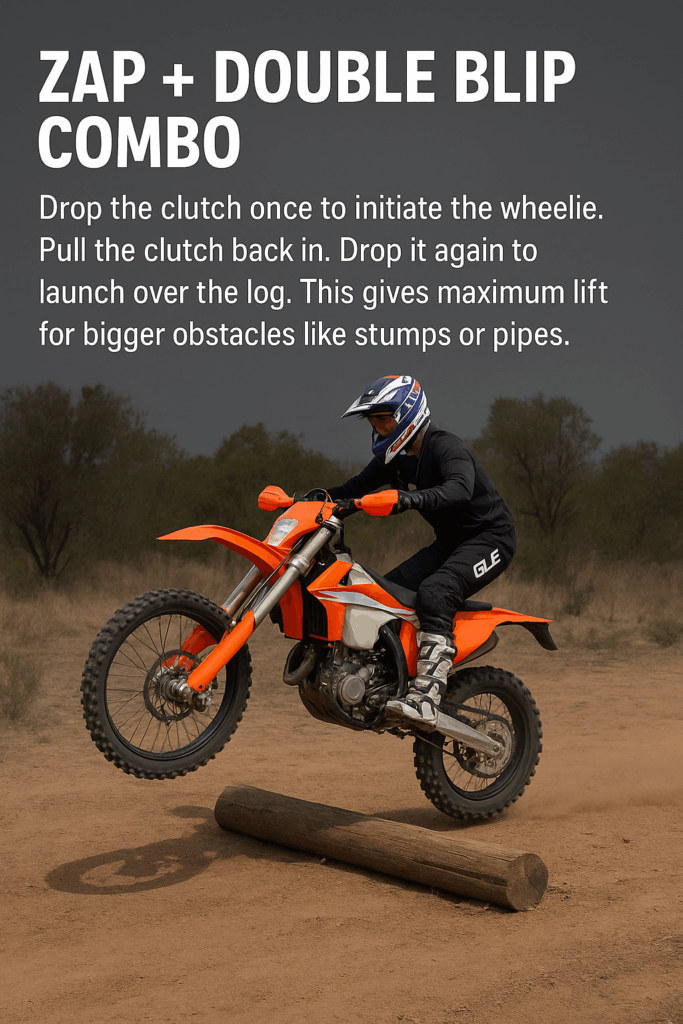
9. Zap + Double Blip Combo

Chris Birch and others combine the zap with a fast double blip:

  • Drop the clutch once to initiate the wheelie.
  • Pull the clutch back in.
  • Drop it again to launch over the log.
    This gives maximum lift for bigger obstacles like stumps or pipes.

10. Advanced Variations

These techniques come in handy when space, angle, or traction make things tricky:

  • Pivot Turns Over Logs:
    Stop close, put your foot on the far side, compress suspension, drop the clutch, and pivot the bike over.
    Roll off throttle to avoid spinning on the log.
  • Bunnyhop:
    Great for crossing logs at an angle, especially wet or slippery ones.
    With good timing, the rear wheel barely touches the log.
  • Static Log Hop:
    Useful when there’s no run-up. Balance against the log, move back to compress the suspension, then clutch-drop to launch over.
    Aim to punch the log halfway to two-thirds up with the front wheel.

In our view, these are the 10 best techniques for getting over a log on a enduro bike and can be seen in this tutorial video:

✅ With these ten approaches, you’ve got everything from beginner-friendly to pro-level techniques for hopping logs, ledges, and obstacles on your enduro bike.